
How to draw a reaction scheme with reagents and conditions
Tutorial · macOS and Windows
A good scheme shows reactants, products and conditions clearly aligned. ChemPencil has reaction arrows with reagent and condition text, plus and equals signs, curved arrows for mechanisms, and alignment commands to line everything up.
Lay out the scheme
- Draw or insert the reactants and products in a row. Double-clicking a template in (Mac) or (Windows) adds common molecules quickly.
- Pick the reaction arrow tool and drag from where the arrow should start to where it should end. A plain click drops a horizontal arrow about three bonds long.
- Add plus signs with (on Windows, in ), and drag them into place.
- Select everything and use to centre the row vertically and space it evenly.
Add reagents and conditions
- Choose (⌥⌘R on Mac, Ctrl+Shift+R on Windows).
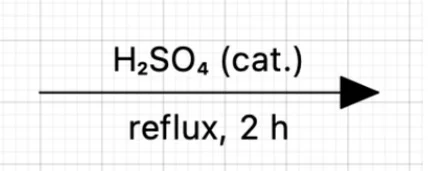
- Type the reagents for above the arrow, for example
H₂SO₄ (cat.), and the conditions for below it, for examplereflux, 2 h. - Click OK. The text goes on the most recently drawn arrow; leave a field empty to clear it.
Other arrows
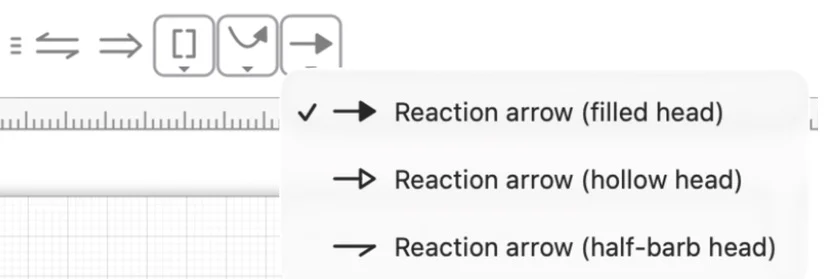
- Equilibrium and retrosynthesis arrows are in the reaction-arrow drawer, as are hollow and half-barb heads.
- Curved arrows for mechanisms: the double-barbed arrow for electron pairs and the fishhook for single electrons. Drag from the source atom or bond towards the destination; the curve follows your stroke.
- Brackets for repeat units, complexes and charges: drag a rectangle around what to enclose.
Once the scheme is drawn, ChemPencil can work out the stoichiometry and yield for it, and numbers the matching atoms on both sides.
Try it yourself. ChemPencil runs on macOS 12 and later and on Windows 10 and 11.